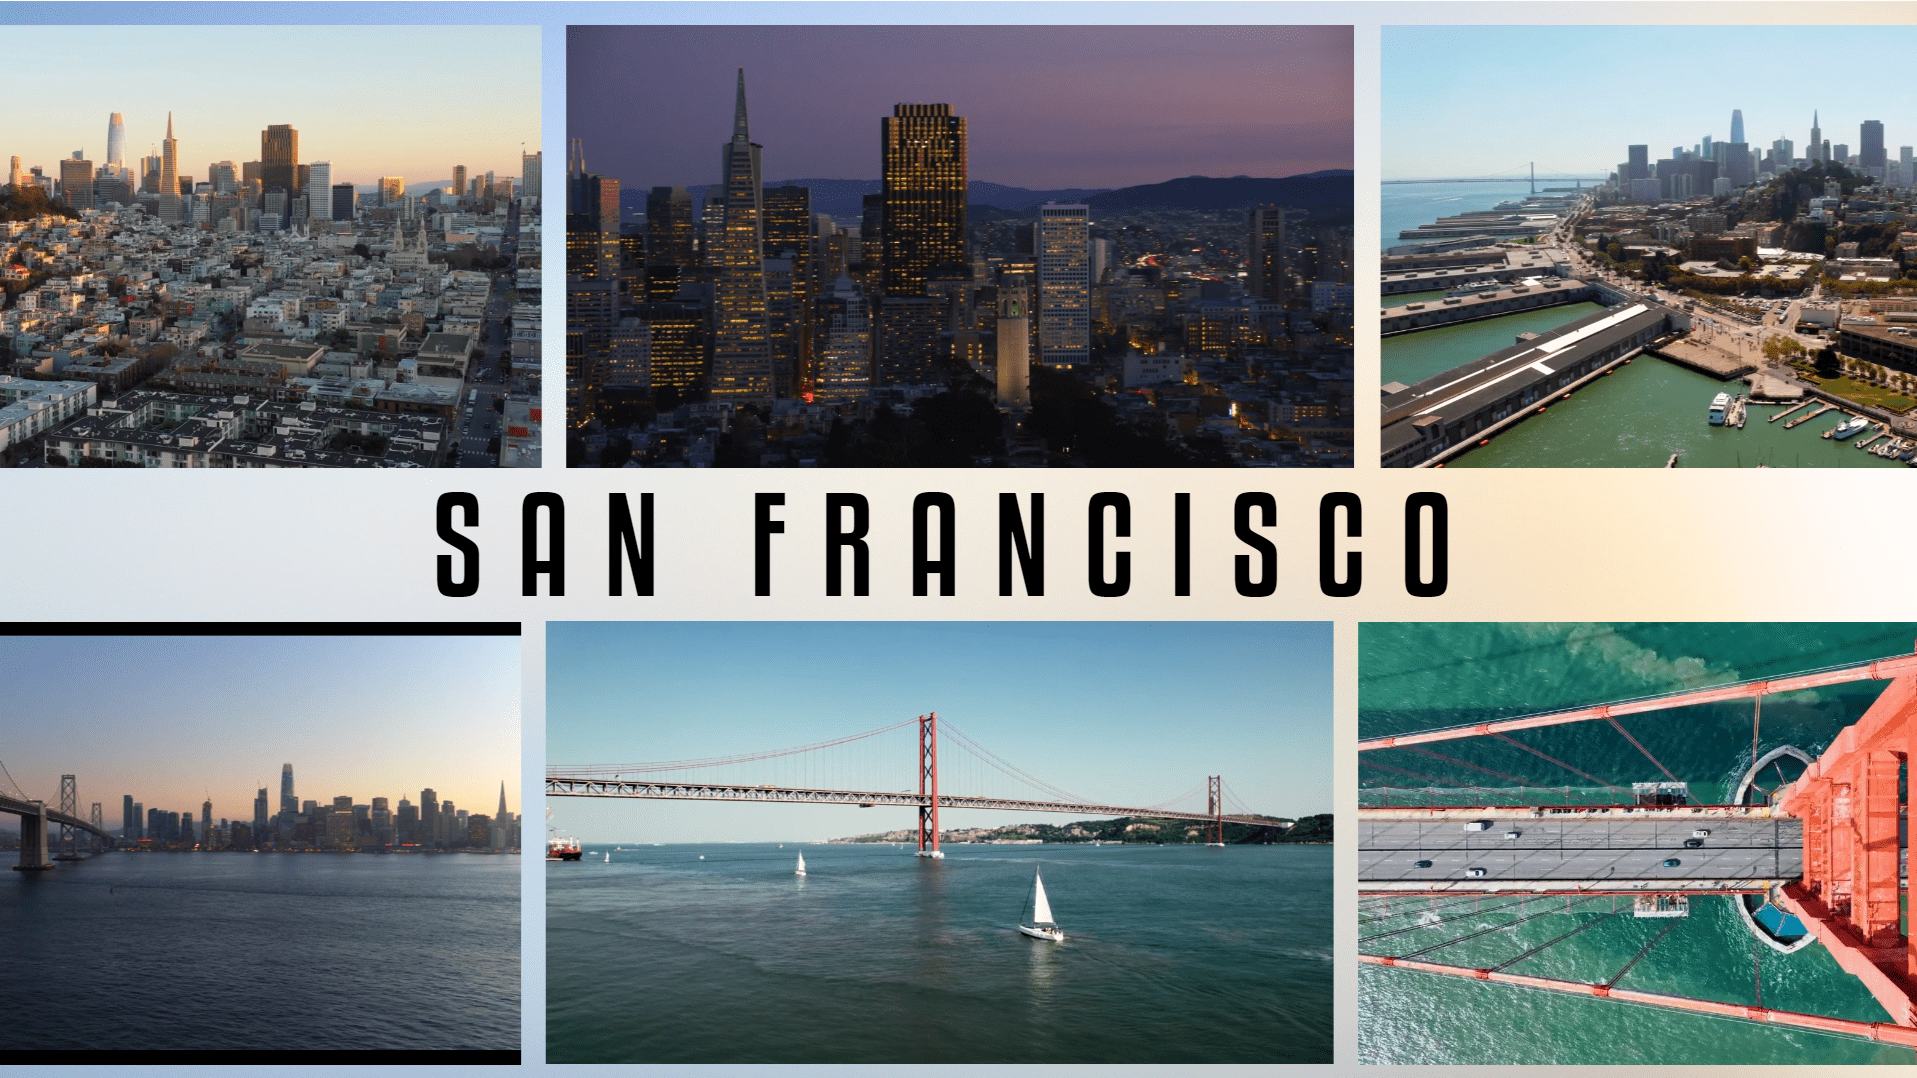
Showcase your multimedia content seamlessly with a versatile Video Gallery!
Moderate
Mezze Platter
Showcase your multimedia content seamlessly with a versatile Video Gallery!
Bring the Netflix experience to your presentation. Add multiple videos to your slide, and only play the relevant ones for your audience. With CustomShow, you can include as many videos as you want on your slide, and choose exactly how and when you want them to play.
Steps
1
- Add a Textbox and a Rectangle from Shape
- Drag and drop 5 Videos, 1 to be used as background and 4 you want to display in the gallery
2
- Select the Video for background
- Use the Position properties or its edges to fit the slide
- Right click > Arrange > Send to back
- Set Show Video Controls to Never
- If you want the video to loop, Turn Loop Playback to On.
- (optional)Lock > Position to prevent it from shifting while editing other elements
3
- Select 1 Video for the video gallery
- Resize either from the Position properties or by holding and dragging the edges
- Set Show Video Controls to Rollover
- Select Play Video Full Screen on Click
- Repeat this process for the next 3 videos
4
- Select a Textbox
- Customize the text by selecting the font, and changing the font size, color, and alignment in the Character property.
- Right-click on Textbox, and click Duplicate Element 2 times to get two more such textboxes with the same format
5
- Select a Rectangle
- Resize it in Position, giving large width, short height (Try – W: 2107, H: 101)
- Go to Fill > Give color of your choice (Try – #E8073E)
- Right-click on Rectangle, and click Duplicate Element to get another rectangle with the same format
6
- Let’s add Builds (animation) to elements on this slide.
- Select Rectangle 1. Choose ‘Wipe’ as the Build In effect. Set Direction to ‘Right’. Set Build Order to 1 and Start to ‘After Previous’. Duration: 1 second, Delay: 0, Easing: ‘Bounce’. Now select the corresponding Text. Choose ‘Fade’ as the Build In effect. Set Alpha from 0 to 1. Set Build Order to 2 and Start to ‘After Previous’. Duration: 1 second, Delay: 0.5, Easing: ‘Bounce’. Repeat for the next Rectangle and Textbox, with Build Order as 3 and 4 respectively.
- Let’s apply Build on the gallery videos on the left first. Choose the ‘Move’ Build In effect, setting the Direction to ‘Right’. Set the Build Order to 5 & 6, Start ‘After Previous’, and adjust the Duration to 1 second with a Delay of 2. Choose ‘Bounce’ for Easing. Then, repeat this process for the next two videos on the right side, but change the Move Direction to ‘Left’ and assign Build Order as 7 & 8.

Congratulations! You are all done!
Elements
3 Text Box
3 Shapes
5 Videos
Design Tips & Tricks 🔥
- Choose a visually compelling thumbnail for all the videos of video gallery.
- To ensure smoothness, even with multiple videos and high-resolution content, web optimize your video files.
- Ensure the background video enhances the overall visual appeal without overpowering the content on top.


